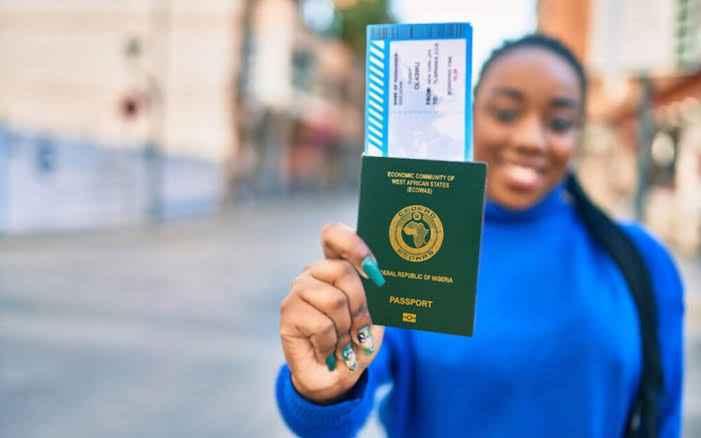
If you’re planning to travel abroad from Nigeria—whether for business, education, or tourism—one of the first things you’ll need is a Nigerian international passport.
Applying for a passport in Nigeria is relatively straightforward, but it can be overwhelming if you’re unfamiliar with the process. This updated 2024 guide breaks down everything you need to know—from choosing the right passport type to submitting your application and getting it processed.
Step 1: Know the Type of Nigerian Passport You Need
Before starting your application, it’s important to understand the types of international passports available in Nigeria:
- Standard Passport: This is the most common type, issued to Nigerian citizens for regular travel. It is available in 32-page and 64-page booklets, with validity options of 5 or 10 years.
- Diplomatic Passport: Issued to diplomats, high-ranking government officials, and individuals representing Nigeria on official duties abroad.
- Official Passport: Designed for government employees traveling overseas for official assignments.
👉 Note: Most applicants will need the Standard Nigerian Passport.
Step 2: Visit the Nigeria Immigration Service (NIS) Portal
To begin the process, go to the official Nigeria Immigration Service website:
🔗 https://immigration.gov.ng/accordions/passport/
On the portal, you’ll:
- Create an account
- Fill out the application form
- Book your appointment
- Make payment online
Step 3: Fill Out the Online Application Form
After creating your NIS account, log in and complete the passport application form. Be sure all personal details—such as your full name, date of birth, and address—match your official documents.
You’ll also be required to upload a passport photograph. Make sure it meets the NIS photo requirements:
✅ Clear image
✅ White background
✅ Recent (not older than 6 months)
Step 4: Pay the Passport Application Fee
The next step is to make your online payment through the portal using a debit or credit card. The passport fee depends on the booklet size and validity:
- 32-page passport: Around ₦100,000
- 64-page passport: Slightly higher
💡 TIP: Passport fees may change, so always confirm current pricing on the NIS website.
Step 5: Book an Appointment for Biometric Capture
After payment, you must schedule an appointment at your nearest passport office. During your visit, the NIS officers will:
- Take your fingerprints and facial image
- Verify your application documents
- Issue a confirmation slip
Step 6: Prepare the Required Documents
To avoid delays, come prepared with the following documents:
- Printed copy of your completed application form
- Payment receipt
- Valid ID (e.g., National ID card, birth certificate, or driver’s license)
- Two recent passport photographs
- Proof of address (utility bill or bank statement)
- Other supporting documents as required
👉 If you’re renewing your passport, bring the old passport as well.
Step 7: Attend Your Biometric Appointment
On your appointment day, arrive on time at the passport office with all your documents. The officers will:
- Capture your biometrics
- Verify your identity
- Complete your application process
You’ll receive a receipt as proof of submission.
Step 8: Track and Collect Your Passport
After your appointment, your passport processing time may take 3 to 12 weeks, depending on location and demand.
You can track your passport application status via the NIS portal. Once it’s ready, visit the passport office with your receipt to collect your passport.
Applying for a Nigerian international passport in 2024 is much easier when you understand the steps involved. Start by visiting the NIS website, prepare your documents, and be patient during the waiting period.
✅ Double-check your details before submission
✅ Be punctual for your appointment
✅ Stay updated on your application status online
For stress-free travel, start your passport application early!


